|
|
Post Reply 
|
Page <12 |
| Author |
 Printable Version Printable Version Google Google Delicious Delicious Digg Digg StumbleUpon StumbleUpon Windows Live Windows Live Yahoo Bookmarks Yahoo Bookmarks reddit reddit Facebook Facebook MySpace MySpace Newsvine Newsvine Furl Furl Topic Search Topic Search  Topic Options Topic Options
|
Rustler 
Senior Member 

Joined: 07 May 2016 Location: S. Oregon Coast Online Status: Offline Posts: 100 |
 Topic: Solar Panel Topic: Solar PanelPosted: 22 May 2016 at 2:58am |
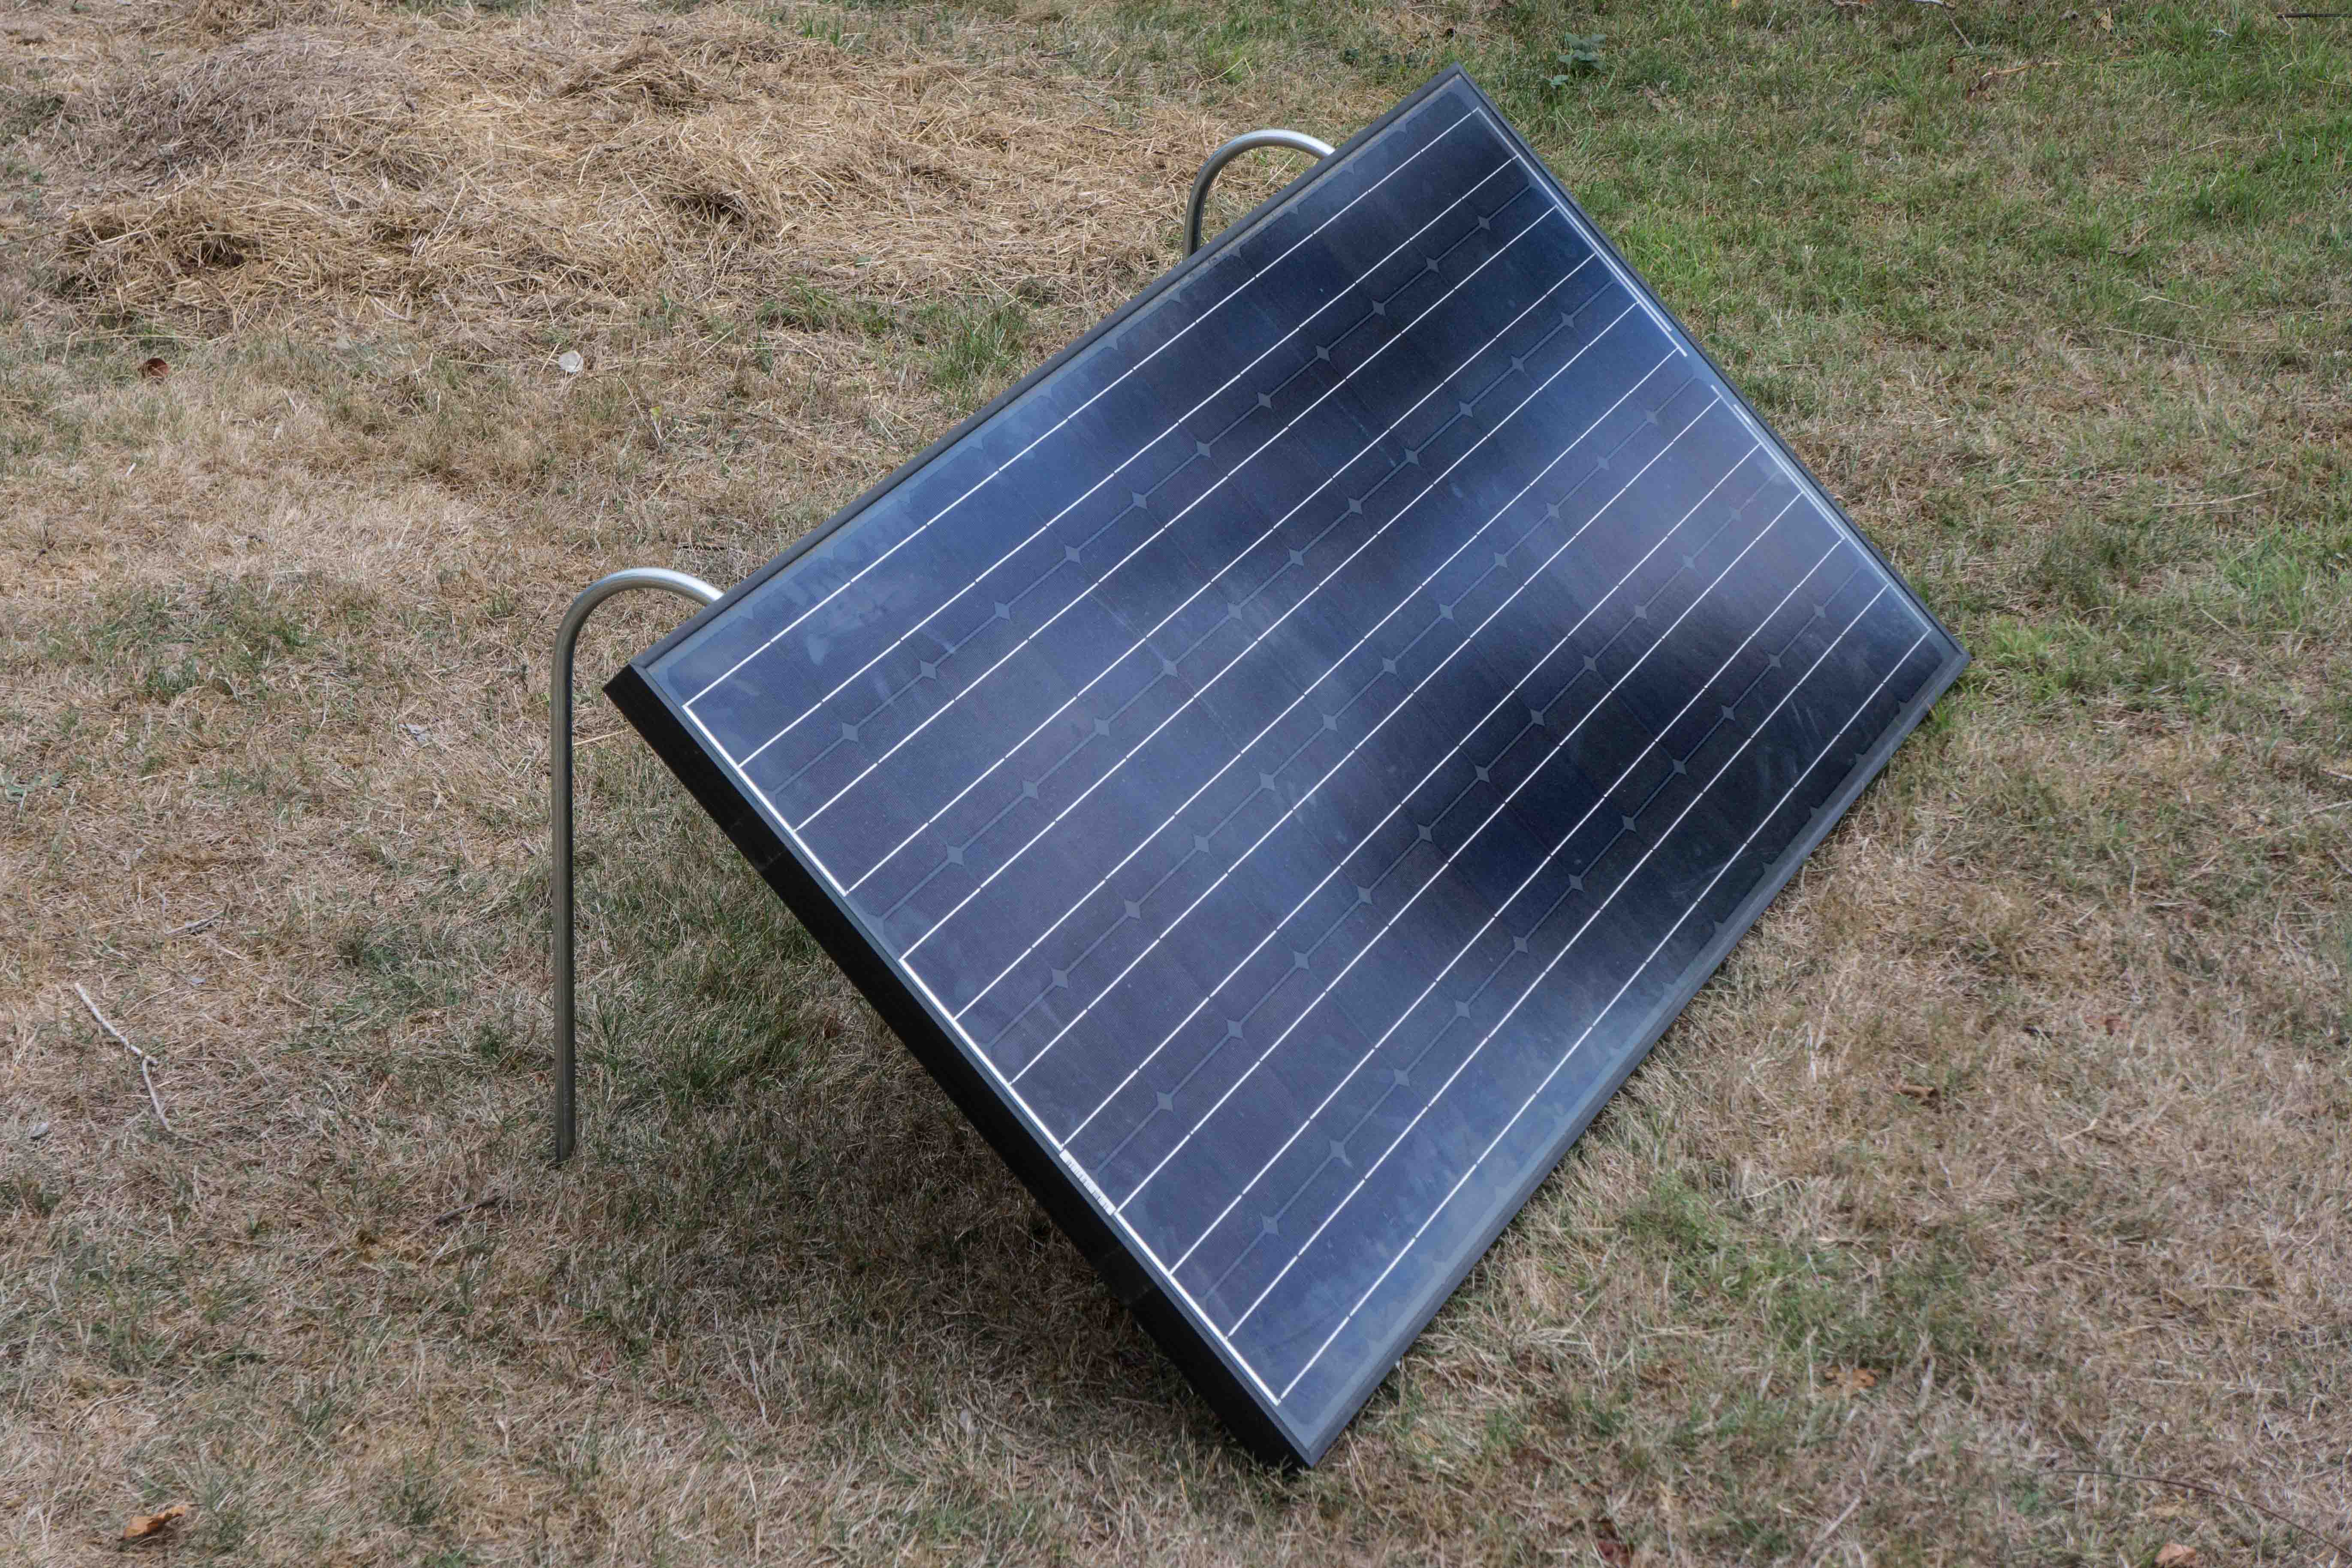
Hi Frankie, I too am a new Rpod owner. Solar panels are a good way to go, though expensive. In the long run they are less expensive and less hassle than generators, etc. I find the solar systems offered for the Rpods to be over-priced. I looked at one yesterday at a local RV dealer where a 200 watt ZAMP model with PWM controller in nice fold up carrying case cost around $1000. You can buy two 100 watt modules from Amazon for around $300. A controller can be maybe $100 for a PWM (pulse width modulation). The better MPPT (maximum power point tracking) controllers are maybe twice that. But you are still looking at less than $600. The MPPT controllers will harvest more solar energy than the PWM versions. Since solar power is expensive, you want to maximize the payback by getting the better charge controller. The extra cost here is worth it in the long run. The Zamp solar kit offered with the Rpods has the cheaper PWM controllers built in behind the panels. Still the kit is a nice plug-in upgrade. But you can do better and cheaper assembling your own system. I have a spare 185 watt panel, identical to the other 25 panels on my home solar system. I purchased a Morningstar MPPT controller for a bit over $200. The combination puts out around 12 amps at maximum power point. The controller is a 4-stage battery charger, programmable for all types of batteries. I made a simple metal conduit brace to tilt the solar panel board the sun. The Zamp kit's advantage is being a complete package, ready to stow in your Rpod and plug in at your camp site. My panel will ride on the queen mattress during travel. It will require a bit of setup at the camp site. I would suggest securely anchoring any solar panels against unforeseen winds. I had my panel tied down to a big concrete block in my yard. The next morning a strong wind had flipped the solar panel face down on the lawn with the concrete block at the end of the tie-down rope just beyond the panel. Now I use a screw-in anchor that is used for tethering pets as my tie-down point. Here's a couple of photos of my solar charging setup:
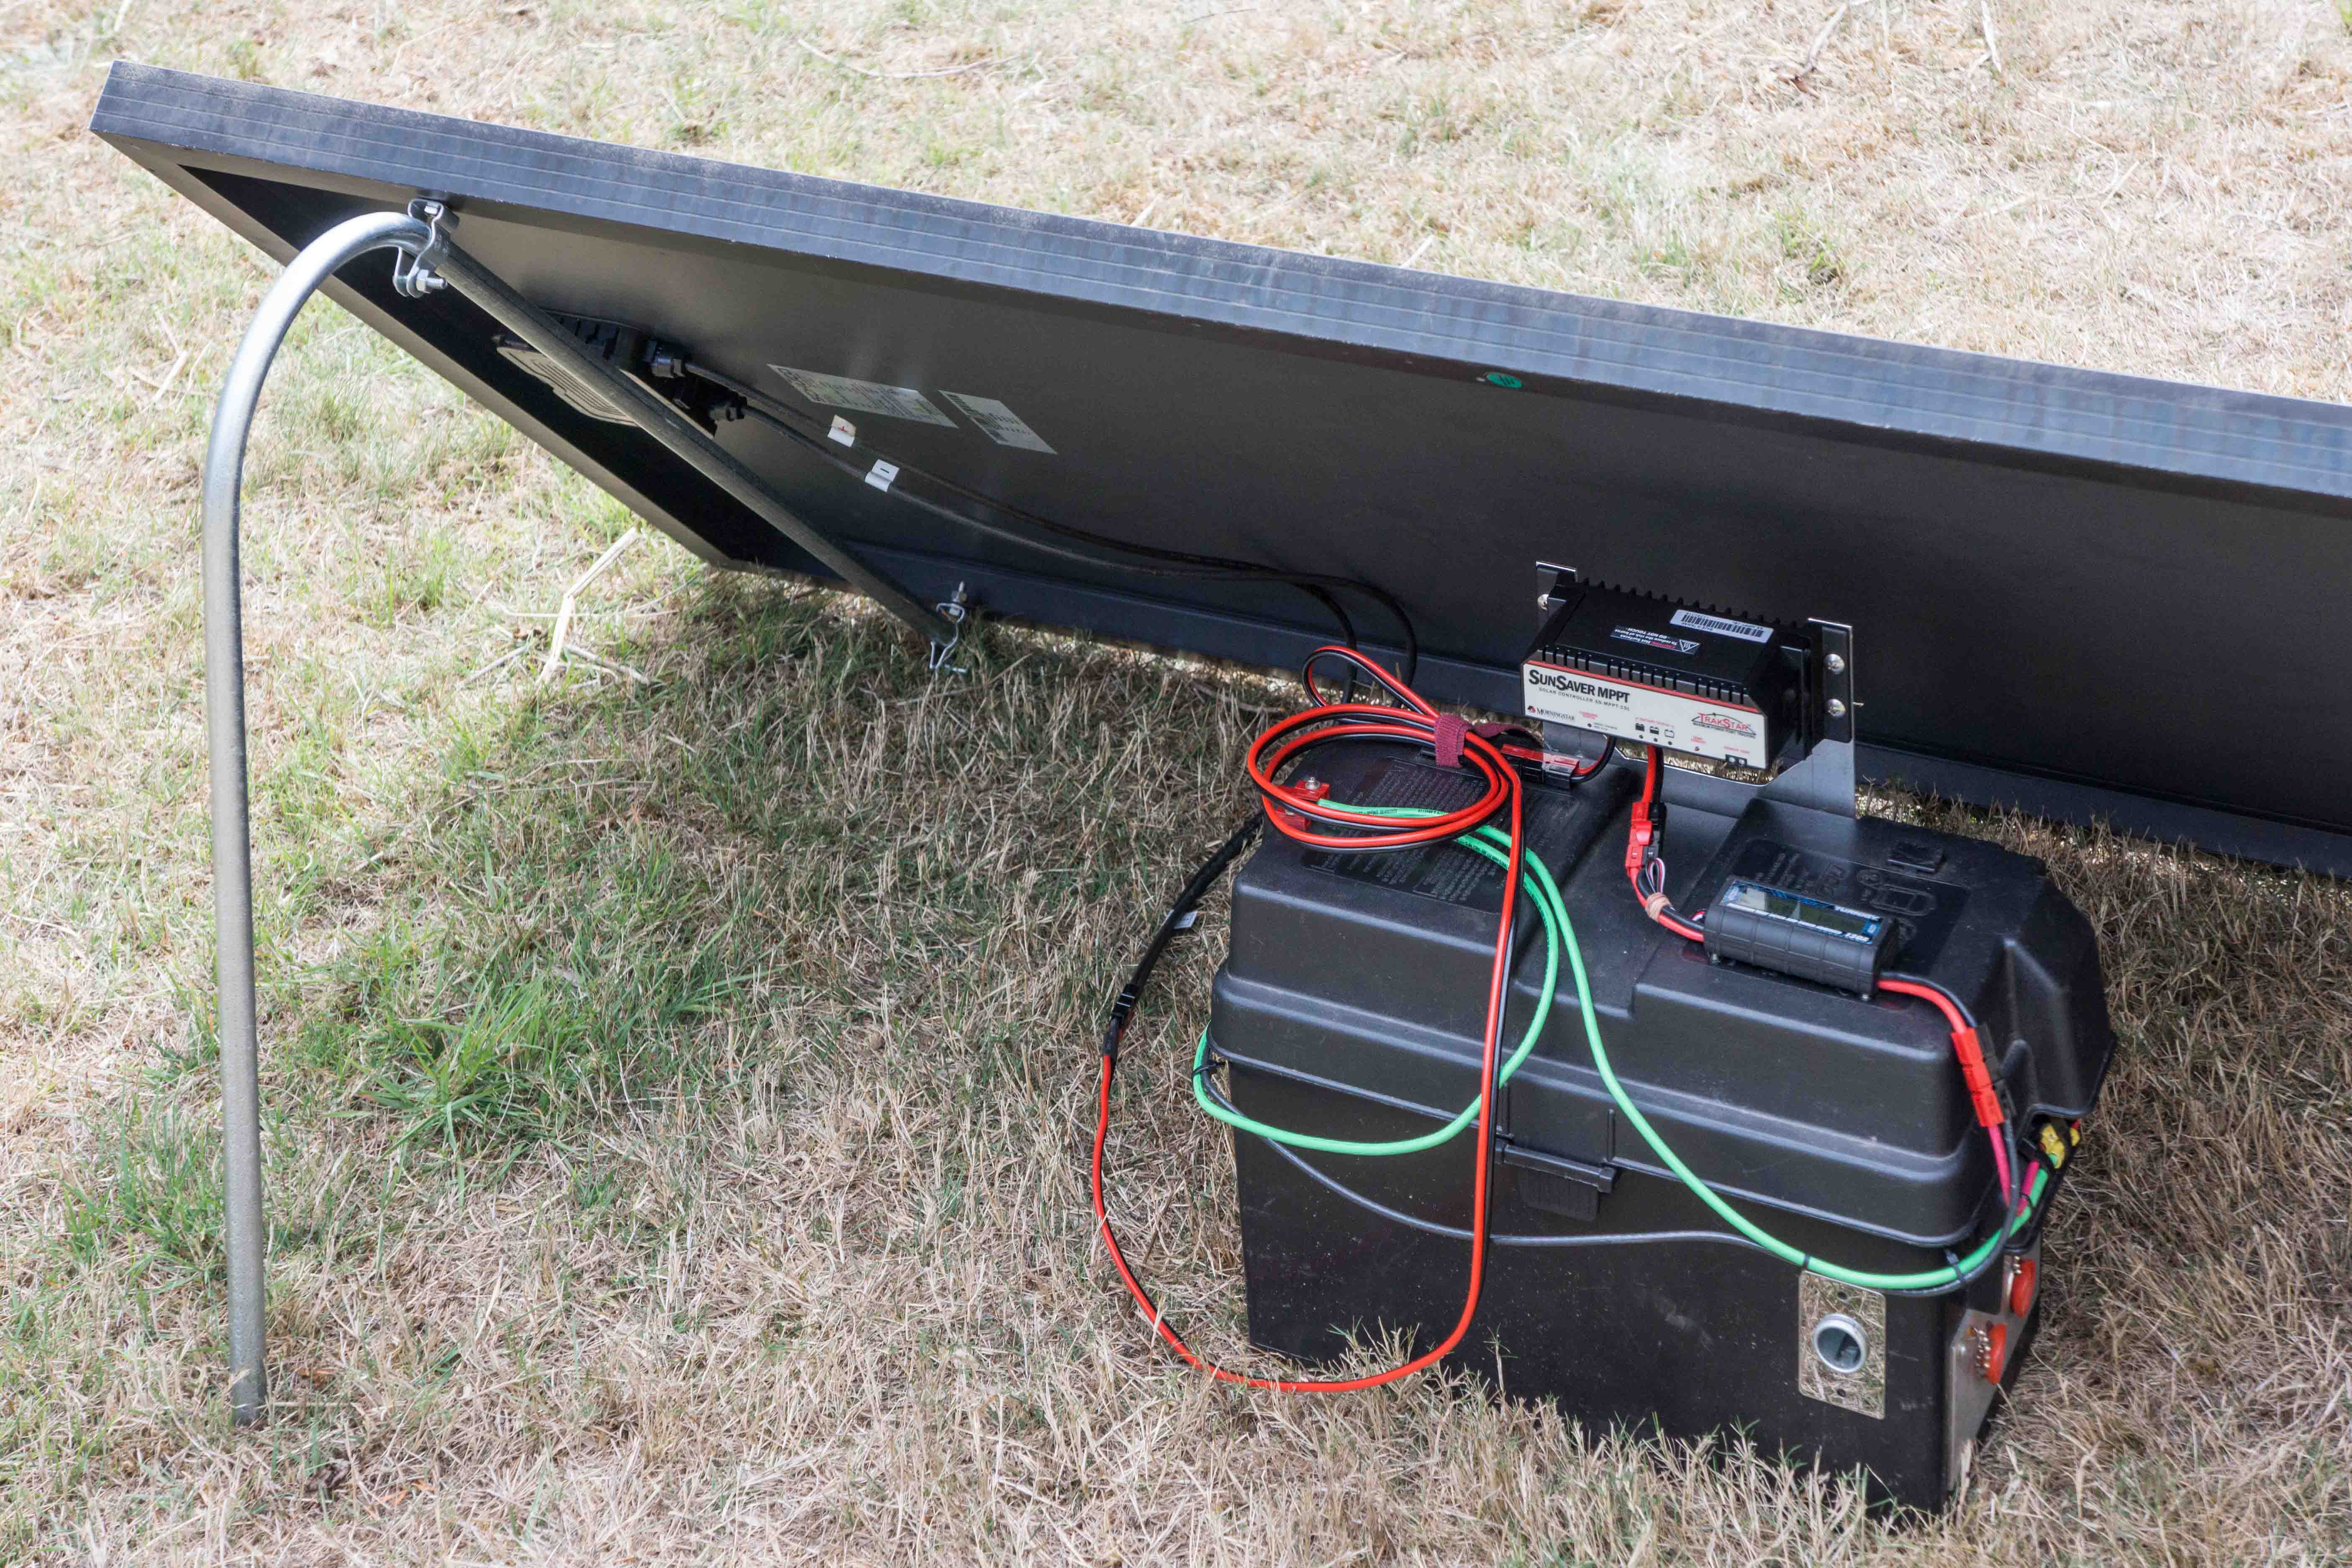
The next photo shows the simple metal conduit brace to angle the panel toward the Sun:
The above photo also shows the Morningstar MPPT charge controller installed on a portable deep-cycle battery. So if you don't mind the extra work to fashion your own solar charger, you can save a bit of money. But whether using the commercial Zamp kit or your own home-brew setup, the solar charging system can give a bit more freedom for off-grid, dry camping. |
|
|
Russ
2009 Toyota RAV4 V6 w/ tow package 2016 Rpod 171 HRE |
|
 |
|
|
frankie
Newbie 
Joined: 17 May 2016 Location: Minnesoa Online Status: Offline Posts: 9 |
Posted: 22 May 2016 at 9:15am |
|
Thanks for all the info! Very informative!
|
|
|
FrankieP
|
|
|
|
|
sailor323
Senior Member
Joined: 11 Jun 2015 Location: S Central KY Online Status: Offline Posts: 281 |
Posted: 22 May 2016 at 4:17pm |
|
I am a big believer in solar power. I installed 2 140 watt panels on the roof of our 179. Much cheaper than the Zamp alternative. You can find a detailed description along with photos in the files section of the r-pod owners facebook page https://www.facebook.com/groups/56931970807/files/
How To - Installation - Solar Panels on Roof.pdf The electrical needs of the pod are relatively small and my installation is probably a bit of overkill, even for several days of boondocking. |
|
|
|
|
Post Reply
|
Page <12 |
| Forum Jump | Forum Permissions You cannot post new topics in this forum You cannot reply to topics in this forum You cannot delete your posts in this forum You cannot edit your posts in this forum You cannot create polls in this forum You cannot vote in polls in this forum |


 Solar Panel