Now that the last of the trim is cut, the headbanger cabinet mod is mostly done! Still need to caulk and hide the nail heads, but close enough for posting. It's very possible that I forgot some steps in this recap, since I did this slowly over the course of a few weeks.
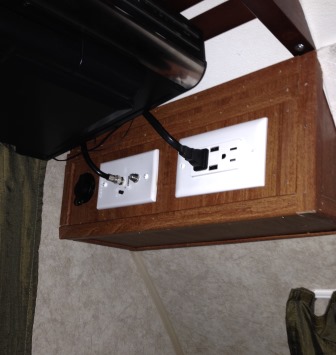
Here's the original cabinet, over the queen bed in the 177.

Folks with the overhead entertainment cabinet know that the stock TV screen will turn to be viewed in bed, but doesn't tilt, so can't comfortably be watched from the bed. And the 9 inch screen is so small that watching it from the dinette seats is kinda pointless. We're not big TV watchers to begin with, so we didn't care to upgrade the screen, especially in its original location. It was really the placement of the cabinet over the bed that was bothersome, in the way of ease for sitting in the bed, or for the inside person to have any chance of stepping over the outside sleeping person in the middle of the night. So, I decided to remove it, and relocate the wiring to the foot of the bed--which for us is at the bathroom end of the bed.
And, thanks to Jarpod, who posted about moving his headbanger, and answered some questions I had! His post is at http://www.rpod-owners.com/forum_posts.asp?TID=5164&PID=58015#58015
What I did:
Removed the flip tv/dvd from cabinet
-unplugged power and cable line
-unscrewed the 4 bolts inside the cabinet
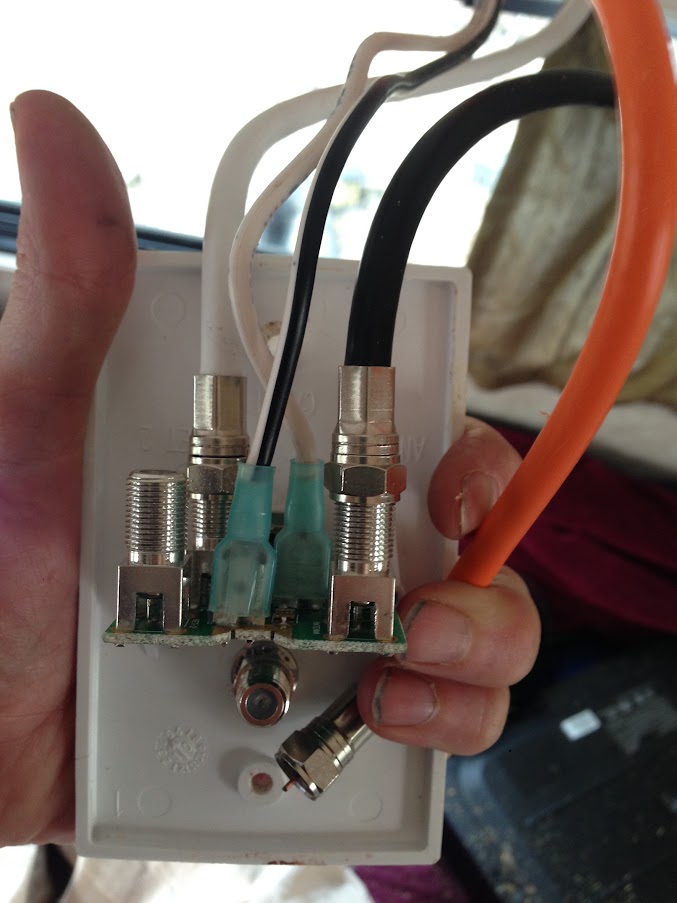
Shut down shore power and disconnected battery power to the pod, then disconnected the electrical and cable outlets in the cabinet. Miraculously, I remembered to snap a pic of the back of the cable outlet with all the wires still plugged in, for future reference.

Removed the cabinet
--ran a razor along all the caulk lines
--unscrewed all the visible screws from inside the cabinet.
**important note! Before unscrewing those screws, remove the trim and bottom piece of wood from under the cabinet! There are some more screws hiding there which will cause great angst if you've removed all the other screws first!!*
Shifted the wires & cables
--removed the white trim between the beige wall panel and the white ceiling panel
--pried up the edge of the ceiling paneling
--shifted the wires and cables to the corner
Wow, there were buckets of sawdust and wood chunks under there! There was enough wire/cable to reach to the bathroom end of the bed. Jarpod's mod moved the wires to the other end of the bed, and he needed to add extra wire. So I was lucky!

--trimmed out a new hole at the edge of the ceiling panel to all the wires to get through, then nailed the edge of the paneling back down.
New electrical box:
--carefully disassembled the cabinet and reused many of the pieces to enclose the outlets in the new location
--reused the same face section with the cutouts for the outlets for the face of the box and piece of the side section. Reusing that side piece meant I didn't have to try to cut something to match the ceiling curve

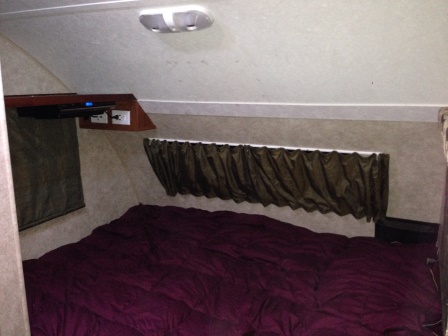
I managed to get it all solidly attached back to the wall, and reused the trim to hide all the screw holes attaching it to the wall. Oh! And before fully closing up this box, I added a 12v plug by tapping into the antennae booster wiring. Th3 12v plug fit very nicely into the existing round hole that was already cut in the section of cabinet I was reusing. Please note, that we will only be using that new 12v plug for changing small electronics, nothing with an inverter. I also upgraded the electrical receptacle to one that had USB sockets.
I had a piece of 1/8" thick wood cut wide enough to hide the holes from the old wire location (4") and long enough to reach from the new box to the head of the bed (58"). I found some paintable wallpaper with a similar texture to the ceiling, covered the trim, and nailed it to the wall.

To finish this mod off, I added the infamous Lowes shelf over the window at the foot of the bed. I used hollow door anchors to attach the shelf to the walls where I didn't find other support. Then I hung the old tv from the shelf. It's unlikely we'll use the tv much, but it's way less obnoxious in this new location. And, it is more comfortable to sit in bed and view the screen in the new location.

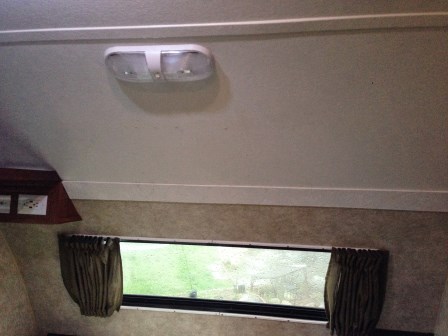
The new wider trim hid the biggest holes from the old cabinet location, but you can still see the screw holes in the ceiling panel. I did clean up the edges and caulk the holes, but they're still visible. Also, the brown caulking from the old cabinet was a beast to get off the white paneling. it's still faintly stained. I may decide to trim those holes better, fill and repaint that whole panel. Or find some fun art to hide that section of the wall/ceiling.


