|
|
Post Reply 
|
Page 123> |
| Author |
 Printable Version Printable Version Google Google Delicious Delicious Digg Digg StumbleUpon StumbleUpon Windows Live Windows Live Yahoo Bookmarks Yahoo Bookmarks reddit reddit Facebook Facebook MySpace MySpace Newsvine Newsvine Furl Furl Topic Search Topic Search  Topic Options Topic Options
|
Colt 
Senior Member 

Joined: 16 Nov 2019 Online Status: Offline Posts: 383 |
 Topic: Can Pod be set up for use in winter Topic: Can Pod be set up for use in winterPosted: 18 Aug 2021 at 6:43pm |
Drive South |
|
|
John
'16 R-Pod 180 |
|
 |
|
|
offgrid
Senior Member
Joined: 23 Jul 2018 Online Status: Offline Posts: 5290 |
Posted: 18 Aug 2021 at 11:58am |
|
Might it perhaps be that with the bottom cover now they are deliberately making the holes big so some air exchanges under there to keep the plumbing warmer in cooler (not winter) conditions?
|
|
|
1994 Chinook Concourse
1995 RV6A Experimental Aircraft 2015 Rpod 179 - sold |
|
|
|
|
mjlrpod
Senior Member

Joined: 27 Sep 2016 Location: Massachusetts Online Status: Offline Posts: 1214 |
Posted: 18 Aug 2021 at 10:20am |
Sounds like you have a newer pod. They cut huge holes now to run pipes. I assume it makes the assembly 1 minute faster, so more profits. Because they use that corrugated cover they now use to seal the under belly, they don't need to be careful. or skilled assemblers.
|
|
|
2017.5 Rp-172
2020 R-pod 195 2015 Frontier sv 4.0L 6cyl I'll be rpodding |
|
|
|
|
offgrid
Senior Member
Joined: 23 Jul 2018 Online Status: Offline Posts: 5290 |
Posted: 18 Aug 2021 at 12:18am |
|
Well no reason to boil the water unless you really want to scald yourself. Heating the water to 105-110 degrees is fine....
One thing folks often misunderstand about RV antifreeze is tthat the standard -50F stuff will freeze at around 12F but still provide burst protection down to -50F. So if it's pretty cold at the ski places where you plan to camp your black tank might freeze even though your using RV antifreeze. As for tubing entry holes, mine were seal up with foam, if yours have gaps you can just get a spray can of urethane foam and fill them yourself. |
|
|
1994 Chinook Concourse
1995 RV6A Experimental Aircraft 2015 Rpod 179 - sold |
|
|
|
|
Jcync000
Newbie 
Joined: 14 Jul 2021 Location: Greensboro Online Status: Offline Posts: 3 |
Posted: 17 Aug 2021 at 3:45pm |
|
thanks for the great writeup on setting up the Rpod 171 for winter. My goal is to go to the ski resorts here in the east coast and stay in some parking lots nearby. They won't have any services but goal is to stay only for 2-3 nights and essentially to serve as a sleeping quarter and use the resort's restaurants and facilities as much as possible. For that, sounds like winterizing the Rpod and using RV antifreeze as a flushing liquid in the bathrooms would be the way to go. And bBoil water for a towel bath I guess, old school! I would like to at least fix all of the air gaps that you described, I have noticed that specially under the bed, it is totally wide open, it would be nasty for the furnace to heat up the trailer without these modifications. Why do they cut such enormous holes for the pipes???
|
|
|
|
|
techntrek
Admin Group - pHp 
Joined: 29 Jul 2009 Location: MD Online Status: Offline Posts: 9059 |
Posted: 22 Mar 2014 at 6:32pm |
|
There is foam in all the straight walls including the ceiling, with aluminum framing. The curved walls are wood frame with fiberglass batts. Only a programmer would start a list with a zero, due to so many functions and objects that start at zero! |
|
|
|
|
XPod
Newbie

Joined: 08 Oct 2011 Location: Evansville IN Online Status: Offline Posts: 29 |
Posted: 22 Mar 2014 at 2:06pm |
|
Ha..yes I do write software! :-) With some experience in robotics and electromechanical controls.
I thought the RPod walls were an aluminum frame, placed into a press and filled with styrofoam on the inside, with fiberglass on the outside. But I haven't cut into the outside walls so I don't know for sure. But I thought the dealer said styrofoam on the inside.... But hey, Lear something new every day
 |
|
|
|
|
techntrek
Admin Group - pHp
Joined: 29 Jul 2009 Location: MD Online Status: Offline Posts: 9059 |
Posted: 22 Mar 2014 at 11:12am |
|
Nice write-up. One note, the pod has fiberglass in the curved walls. You must be a programmer by day? |
|
|
|
|
XPod
Newbie
Joined: 08 Oct 2011 Location: Evansville IN Online Status: Offline Posts: 29 |
Posted: 22 Mar 2014 at 8:05am |
|
You don't have to "only" dry camp. It's easier and cheaper but I used mine to go snowboarding and had water so...it'll do winters BUT it costs some money (tank heaters). The R-Pod needs some fairly extensive mods to do winters BUT once you do them its a really good winter camper because of the extruded styrofoam walls.That is the first point. The R-Pod, for all its faults, has (IMHO) very good construction for winters...here is why. Your normal RV in this price range has wood walls with regular "fiberglass" insulation which will fall down/degrade an collect in the bottom of the walls. The R-Pods walls are an empty frame which they extrude styrofoam into giving you very good and uniform insulation. So..there is that :-) Mods that are needed/I did to mine...plus a couple of extras. 0. Tank heaters, elbow heaters, pipe heaters. Thing is you HAVE to be careful because the RPOD power supply can only source so much juice. So do the power calculations. I had a complete package installed and I only ran the freshwater and the fresh water hose heater (keep reading). We flushed the toilet with RV antifreeze and the same in the Grey tank....used a lot of RV antifreeze...but it's pretty cheap and its not that big of a deal to do. 1. Replace the garden hose...yes garden hose! The freshwater tank has a GARDEN HOSE coming out of the top that feeds the pump. Yep..it'll freeze and split like crazy. Replace it with a pex hose and AND wrap it in the smallest pad heater you can find (I used Ultraheat). Works great. 2. Buy a case of expandable insulation spray foam and FILL THE HOLES. First time I used the RPod in the winter, the heater ran almost continuously and you could feel freezing air pour in. Not so bad in the summer, not good in the winter. Here is a list of the holes I filled. ****Ok thats the basics...here are a couple of extras that I did to make it REALLY toasty. Wheww....lots of work....but the result. 2 years ago, camped over winter holiday break, It takes some work...but the RPOD makes a very good winter camper.
|
|
|
|
|
kymooses
Senior Member

Joined: 01 Aug 2010 Location: Louisville, Ky Online Status: Offline Posts: 1807 |
Posted: 15 Dec 2013 at 4:59pm |
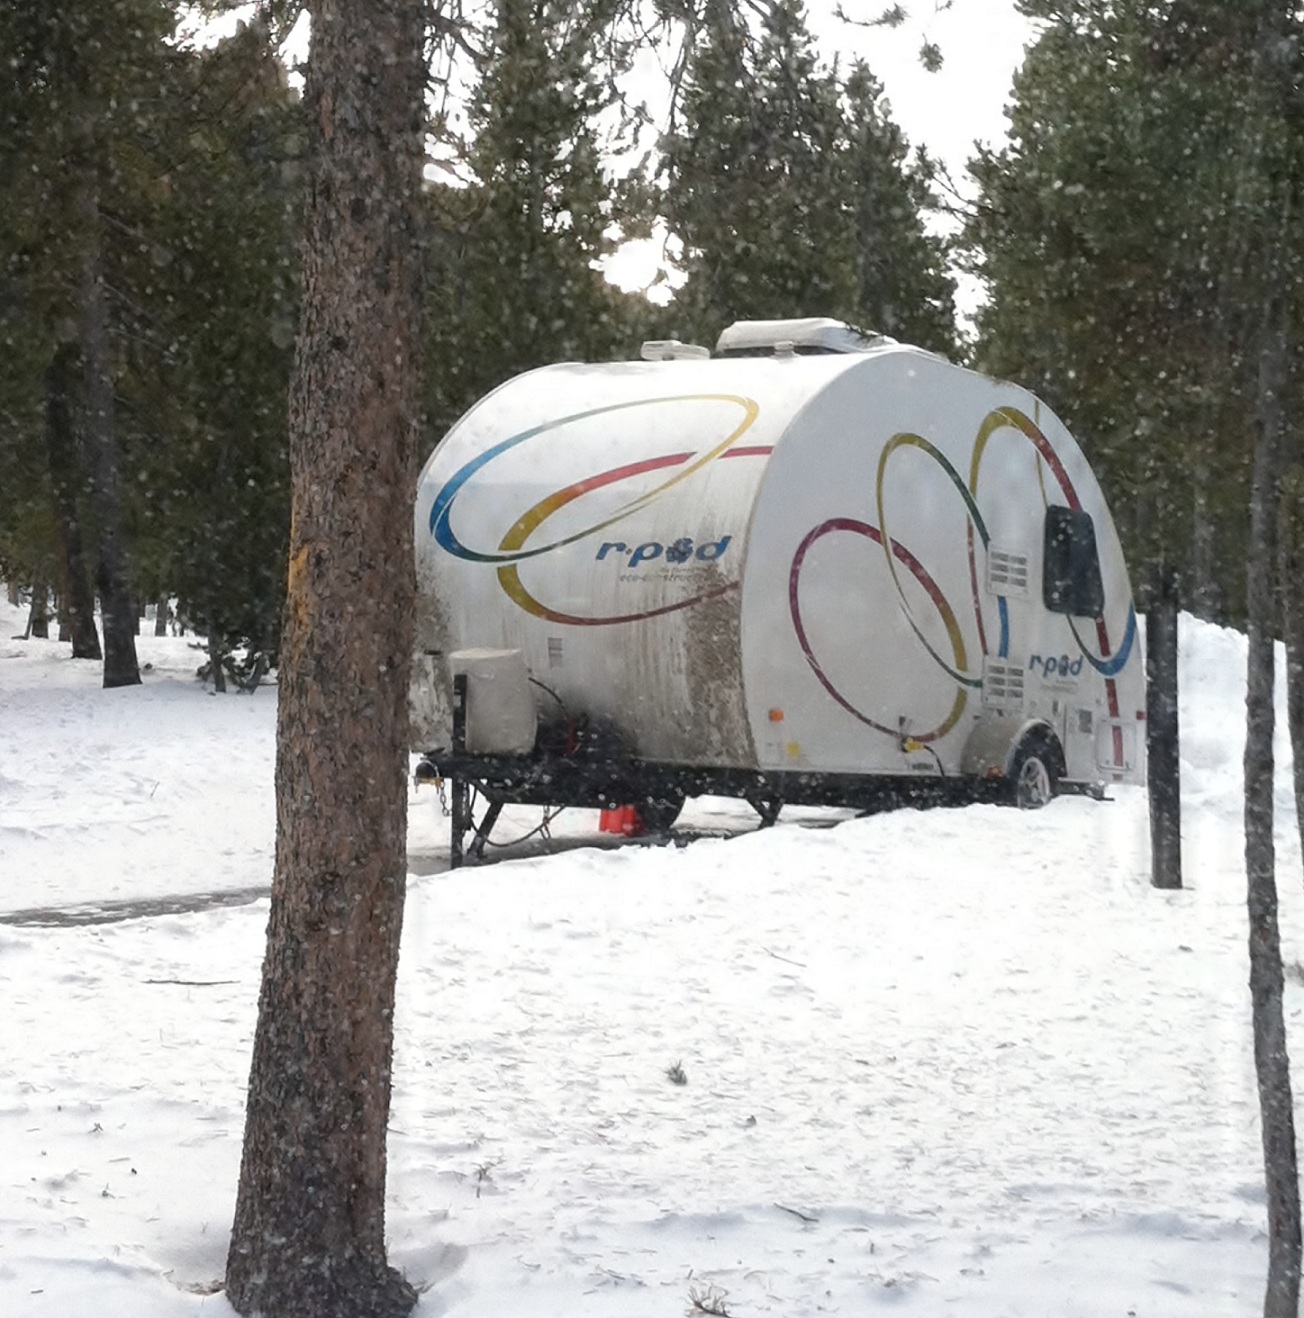
Love that place!!!
|
|
|
|
|
Post Reply
|
Page 123> |
| Forum Jump | Forum Permissions You cannot post new topics in this forum You cannot reply to topics in this forum You cannot delete your posts in this forum You cannot edit your posts in this forum You cannot create polls in this forum You cannot vote in polls in this forum |


 Can Pod be set up for use in winter