|
|
Post Reply 
|
Page 123> |
| Author |
 Printable Version Printable Version Google Google Delicious Delicious Digg Digg StumbleUpon StumbleUpon Windows Live Windows Live Yahoo Bookmarks Yahoo Bookmarks reddit reddit Facebook Facebook MySpace MySpace Newsvine Newsvine Furl Furl Topic Search Topic Search  Topic Options Topic Options
|
GlennZippy 
Groupie 

Joined: 19 Feb 2013 Location: Colorado Spring Online Status: Offline Posts: 44 |
 Topic: Our-Pod Mods Topic: Our-Pod ModsPosted: 02 Jan 2017 at 7:33pm |
|
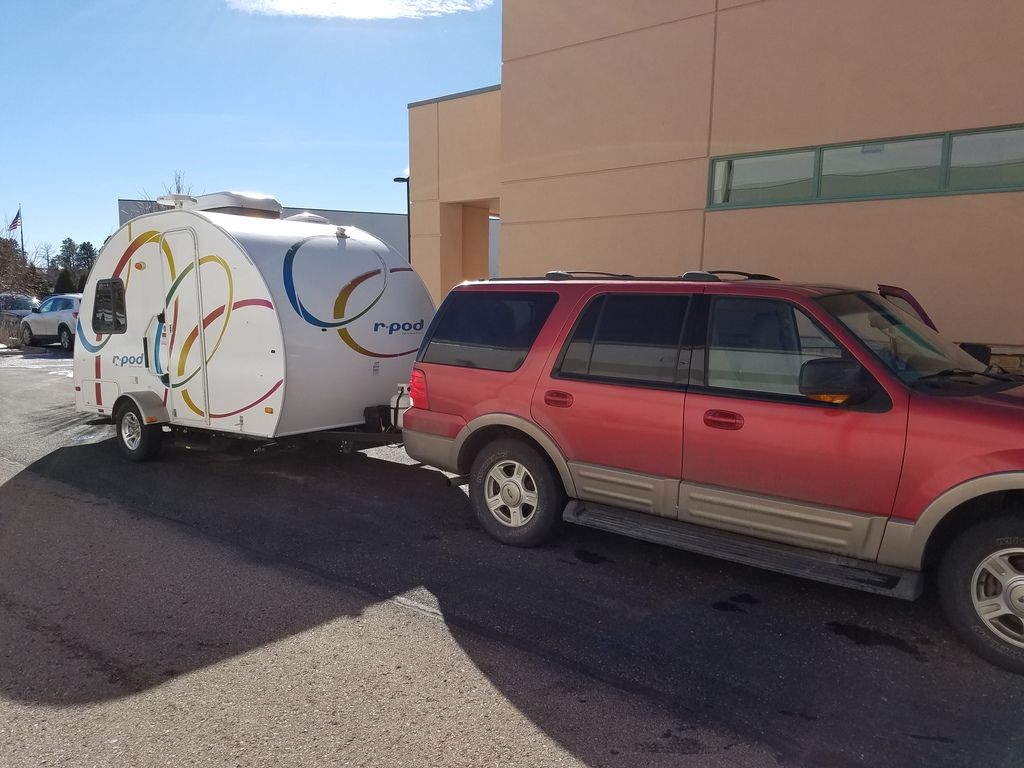
We haven't had a chance to name it just yet so apologies to
any others with the same name...
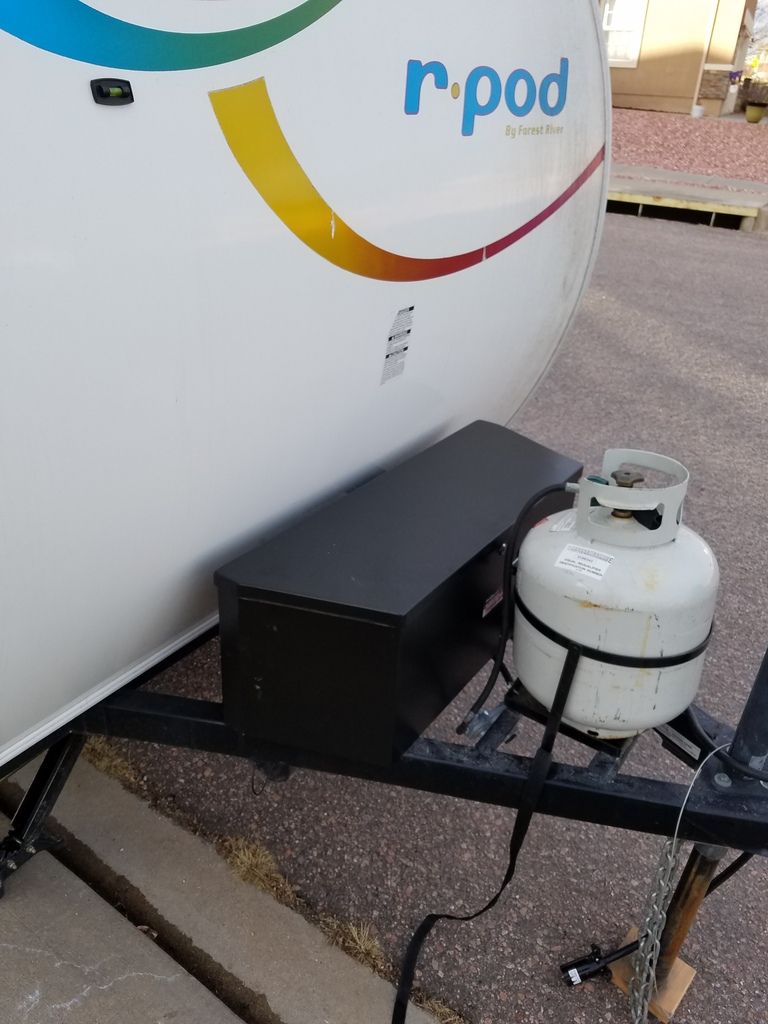
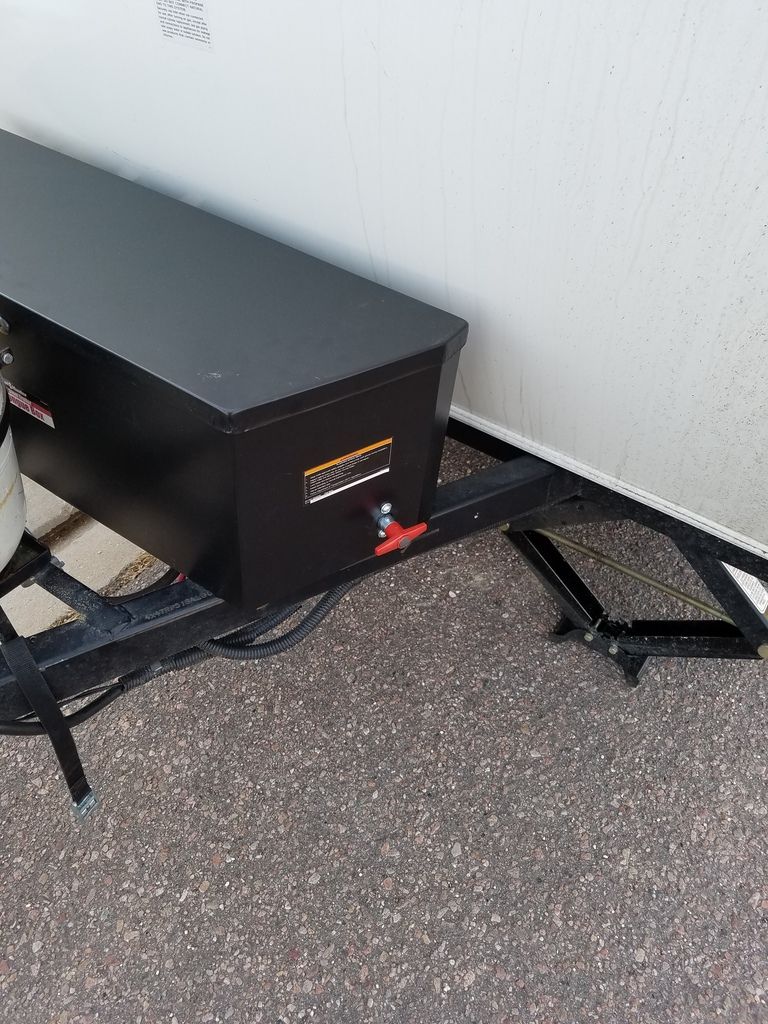
Second mod: Tongue box. I picked up the smaller tongue box
from Harbor Freight with the intention of being able to secure 2 batteries down
the road. For now, the extra space will be used for wheel chocks and such. None
of the holes lined up very well though so I did need to drill some holes and
use some self-tapping screws to get it in place. While the position is perfect,
the single LP tank is in the way, but there is plenty of space to move the
position forward and add what is needed for a second bottle. This will be a
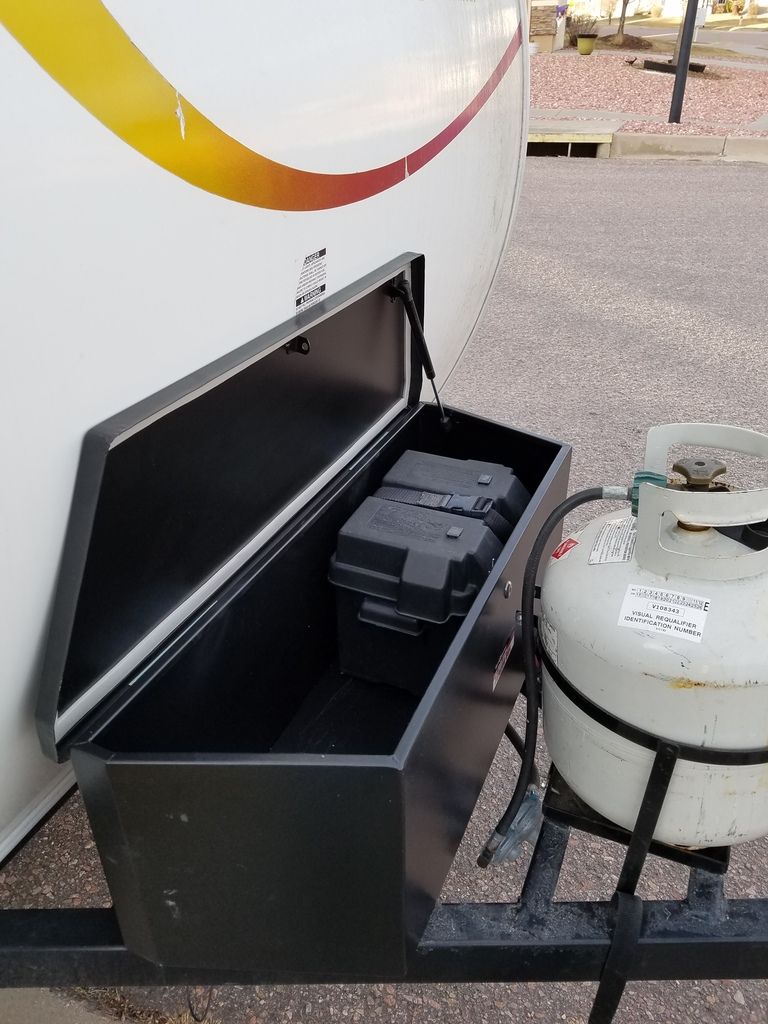
future mod. It can't really be seen in the pictures, but I used the original straps that were holding down the plastic battery box as a hold down for the internal box. I doubled over the strap and heated up a large nail to poke a hole through the strap. I then used another screw and nut on each end of the straps with a fender washer to keep it from pulling out. I used the same buckle from the original strap.
Battery cut-off switch. This also came from Harbor Freight but did require some fabrication skills to get it looking right. I removed the black center cover to have access to the small hex nut holding the handle to the switch. I then used a 1” hole-saw to create an opening for the handle and then ¼” holes for the screws. I used a rubber gasket from Ace Hardware to keep things water tight. I secured everything with a couple of ¼” by 1” screws and washers. It’s a great fit and super helpful!
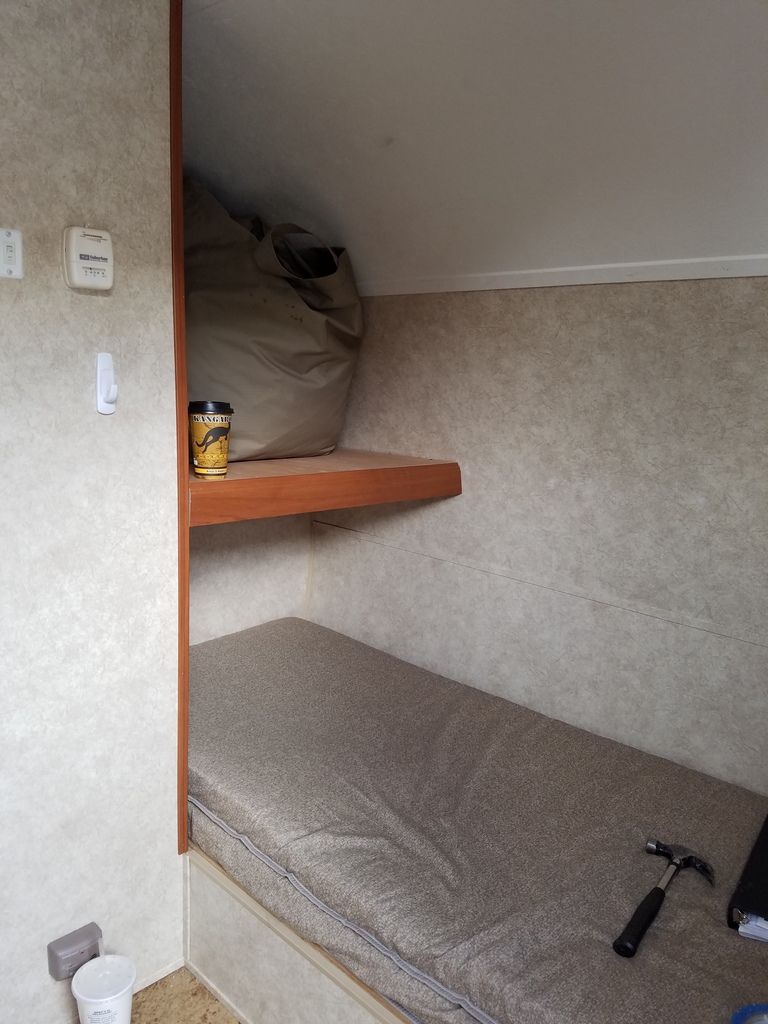
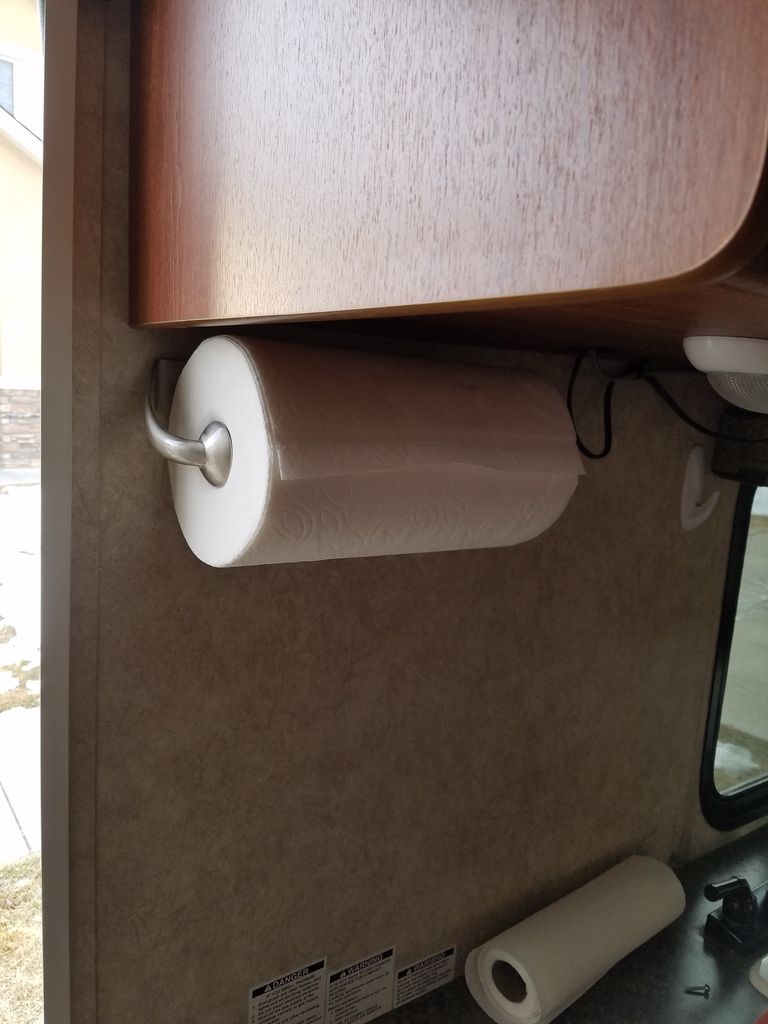
A couple of other inside mods: Naturally a paper-towel holder is helpful. This one we picked up from Wal-Mart and has a ratcheting feature that keeps the paper on the roll even when moving. A few command strip hooks for jackets and towels as well as another for a trash bag right next to the stove. We also found a command strip item that while designed for a broom, is perfect for securing a flashlight in a convenient location.
While not really modifications, so to speak, we also added a few necessities like a toolkit, water filter, dump station items (clear elbow, hoses, poop-tubes), various water adapters (Y connector, 90 degree connector, pressure regulator) and all the stuff we usually carried while tent camping. Future mods: Grills for the vents on the driver side, bed modification to better accommodate 2 people, possibly removing the DVD player/TV, storage options that may include raising the one remaining bed a bit. Some of these things will happen over the course over the next couple of months but many more will happen once we really get a chance to use the trailer. |
|
|
2010 R-Pod 152
|
|
 |
|
|
Leo B
podders Helping podders - pHp 
Joined: 13 Jan 2012 Location: Lyndonville, VT Online Status: Offline Posts: 4508 |
Posted: 02 Jan 2017 at 8:37pm |
|
Nice work!!
|
|
|
Leo & Melissa Bachand
2017 Ford F150 2021 Vista Cruiser 19 csk Previously owned 2015 Rpod 179 2010 Rpod 171 |
|
|
|
|
jato
Senior Member

Joined: 23 Feb 2012 Location: Kewadin, MI Online Status: Offline Posts: 3225 |
Posted: 02 Jan 2017 at 9:55pm |
|
Nice workmanship! Sure helps to be handy. Where are you located? Going podding soon maybe as I don't see any snow?
|
|
|
God's pod
'11 model 177 '17 Ford F-150 4WD 3.5 Ecoboost Jim and Diane by beautiful Torch Lake "...and you will know the Truth and the Truth will set you free." |
|
|
|
|
GlennZippy
Groupie
Joined: 19 Feb 2013 Location: Colorado Spring Online Status: Offline Posts: 44 |
Posted: 03 Jan 2017 at 11:16am |
|
Located in Colorado Springs. The weather started moving in today: 6-12 inches in the next few days. We're lucky that we still get some decent weekends to work on the pod, but most of the forest service campgrounds close until May.
|
|
|
2010 R-Pod 152
|
|
|
|
|
texman
Senior Member
Joined: 24 Jul 2014 Location: TeXas Online Status: Offline Posts: 446 |
Posted: 16 Jan 2017 at 10:55am |
|
Thanks for Sharing!
|
|
|
|
|
GlennZippy
Groupie
Joined: 19 Feb 2013 Location: Colorado Spring Online Status: Offline Posts: 44 |
Posted: 28 Jan 2017 at 5:52pm |
|
So it was in the upper 40's today so I pulled the Pod out of storage and did a mod!
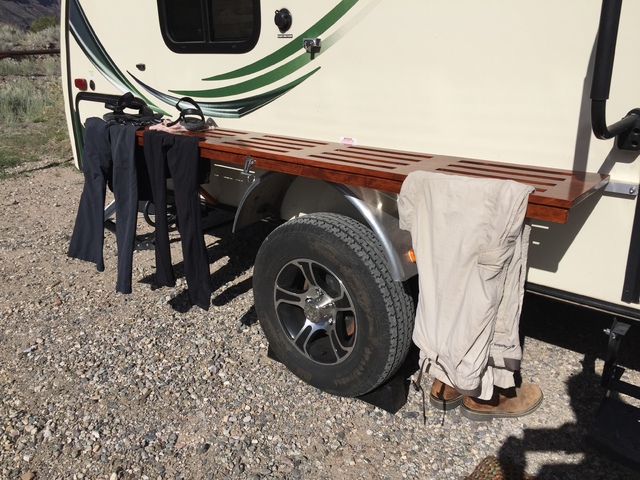
We tend to migrate towards boon-docking and have pretty good systems in place from years of tent camping. But since we may be out for a week or more we wanted to have a pair of tanks instead of the standard single. Our 2010 152 had the bracket welded in place, so I had to break out the grinder and go after the welds on the square part of the bracket. I left the cross-pieces to add a little stability to the new tank bracket. After about 30 minutes I had the 2 curb-side welds taken care of, and then manhandled the bracket off. After a bit more grinding to smooth out the driver side and remove some rust I hit the clean, shiny metal with some black spray paint. Once it was dry, I test-fit the bracket (from Manchester Tank via my local Camping World). I had to add a couple of holes to the bracket as the holes for the strap from the previous bracket (the strap was held on with bolts) didn't match up. After that, a pretty simple process of tightening bolts and nuts and then it was finished. The hardest part was grinding off the old bracket, but it seems like Forest River is now bolting them on at any rate. Eventually I will add a dual regulator as well, but for now, I'll switch tanks and hope that it's not raining when it needs it. (Naturally it will be pouring at that time...)   |
|
|
2010 R-Pod 152
|
|
|
|
|
jato
Senior Member
Joined: 23 Feb 2012 Location: Kewadin, MI Online Status: Offline Posts: 3225 |
Posted: 28 Jan 2017 at 9:38pm |
|
Very nice mod. We plan to come out your way in September to RMNP; it is our favorite NP. Noticed you have a blue rhino tank. You can do much better if you can find a hardware store that will fill you tank and only charge for the amount added. Normally they can fill the tank with 20 lbs of propane which is 4.7 gallons. Blue Rhino on the other hand will charge more and you will find out if you weigh it when you get home you will only get 15 lbs of propane or 3.6 gallons or put it another way you are only getting 75% of your tank filled. Where I live in Michigan I can get 20 lbs for $ 16.50, down the road 400 yards if I go to the gas station where they have Blue Rhino I will pay $22.95 for only 15 gallons.
|
|
|
God's pod
'11 model 177 '17 Ford F-150 4WD 3.5 Ecoboost Jim and Diane by beautiful Torch Lake "...and you will know the Truth and the Truth will set you free." |
|
|
|
|
GlennZippy
Groupie
Joined: 19 Feb 2013 Location: Colorado Spring Online Status: Offline Posts: 44 |
Posted: 29 Jan 2017 at 9:21am |
|
We are more Yellowstone type of people but RMNP is beautiful. We were there last Labor Day.
That tank is actually empty. I have several others but when you are having a party and run out after your normal place is closed, you do what you must!  |
|
|
2010 R-Pod 152
|
|
|
|
|
john in idaho
Senior Member

Joined: 04 Nov 2014 Location: Eagle Idaho Online Status: Offline Posts: 611 |
Posted: 29 Jan 2017 at 10:46am |
|
Since you live in Colo Springs, what is the road like out to Canon City and Gunnison? OK for a rPod? I don't particularly like I-70. With a trailer the bypass around Denver is around $28 to go north.
|
|
|
|
|
GlennZippy
Groupie
Joined: 19 Feb 2013 Location: Colorado Spring Online Status: Offline Posts: 44 |
Posted: 29 Jan 2017 at 11:34am |
|
From the Springs to Canon City is not bad at all. A little twisty in parts but it's not a super big elevation difference. Highway 115 runs right along side Fort Carson and there's not a ton of services until you hit Highway 50. Passing lanes are here and there and watch out for motorcycles: The riders are typically young and stupid in that area.
Once you hit 50, it's a decent road but it does get pretty twisty, but is a good road with frequent passing lanes when it's not 4 lanes. Going in to Salida is one of my favorite stretches. Drop. Dead. Amazing. Surrounded by 14,000 foot mountains. One of my favorite spots. Heading out of Salida up Monarch pass is a bit of a haul as the passing lanes are less frequent. Still, it's manageable as the amount of traffic drops off. Over the pass, it is pretty bendy and the passing lanes increase as you approach the stretch into Gunnison. It flattens out though nicely about 15 miles before you reach town. I would have no hesitation about going that way. Another alternative is to head north from Poncha Springs to Buena Vista and then pick up 24 to the Springs. This can be crowded on weekends though. |
|
|
2010 R-Pod 152
|
|
|
|
|
Post Reply
|
Page 123> |
| Forum Jump | Forum Permissions You cannot post new topics in this forum You cannot reply to topics in this forum You cannot delete your posts in this forum You cannot edit your posts in this forum You cannot create polls in this forum You cannot vote in polls in this forum |


 Our-Pod Mods